
OpenID Connect EAP allows you to set up SSO using OpenID Connect. You'll be able to set it up as a SSO configuration, the same as with SAML and JWT.
Getting started
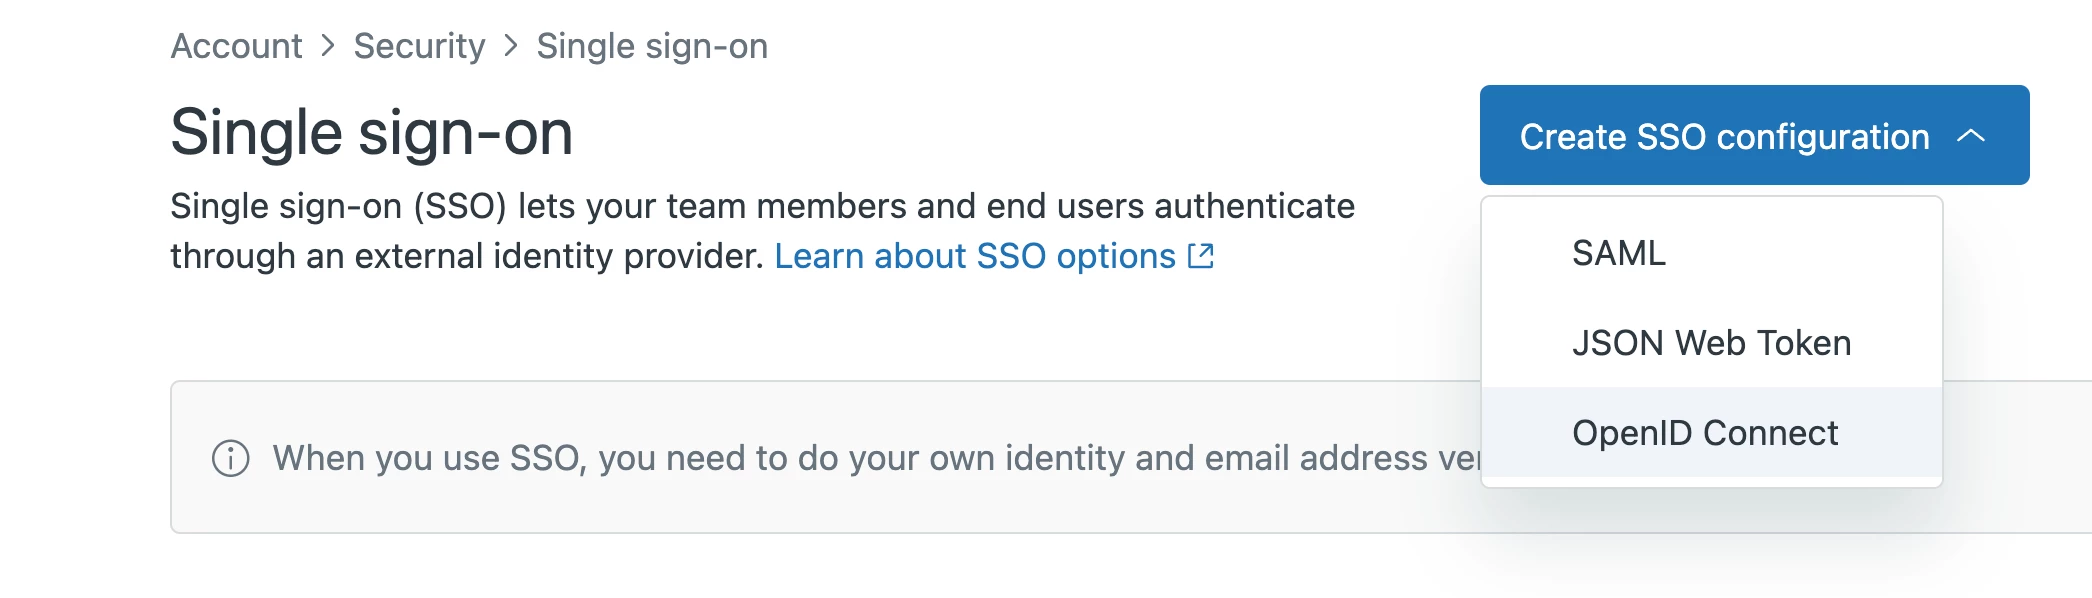
Once you've gotten the email confirmation that your account has been enrolled in the OpenID Connect EAP; you’ll see a new SSO configuration option for OpenID Connect under the Create SSO configuration dropdown. SSO configurations are created in Admin Center, under Account > Security > Single Sign-on.
Configuring OpenID Connect as a method for SSO
On the Create OpenID Connect configuration page you’ll see the required and optional fields needed for creating your SSO configuration using OpenID Connect (shortened “OIDC”). The information needed is going to come from the Identity Provider (shortened “IdP”) you're using, so make sure you have that set up before filling out this configuration form.
Filling out the configuration form
- Configuration name
Give your configuration a unique name that makes it easy to identify in the list of configurations on the Single Sign-on tab.
- IP ranges
Optionally, you can add a list of IP ranges. Requests from these IP ranges will always be routed via remote authentication. Requests from IP addresses outside these ranges will be routed to the normal sign-in form. To route all requests through remote authentication, leave this blank.
- Client ID
You’ll get this from your IdP, paste it in here.
- Client secret
Your IdP might require this, if so then paste it in here. As this is a secret that must be kept confidential at all times, you won’t see the full secret again after the configuration has been saved. If you need to rotate the secret, you can select the Edit button in the configuration form, which will allow you to add and save a new secret.

- Scopes
Here you can list all the scopes you want to request from the IdP, at a minimum you must add openid. Any additional scopes are separated with a comma, for example; openid,email,phone
- Supported scopes within the OIDC standard include; openid, profile, email, address, phone. You can also list any custom scopes that have been configured in your IdP.
- Unaccepted scopes that your IdP rejects will cause login to fail with a login error saying Unknown error during sign-in. We don’t currently validate any of the scopes in this field.
- Turn on auto discovery
Check this box if you only want to provide the Issuer URL and we’ll extract the configuration details from the OIDC Configuration Document automatically.
- If you check this box, you only need to configure Issuer URL and Authentication mode.
Uncheck this box if you manually want to provide all the information that’s otherwise automatically extracted from the Issuer URL.
- If you uncheck this box, you need to configure Issuer URL, UserInfo URL, JWKs URL, Authorization URL, Access URL and Authentication mode.
- Issuer URL
Also known as the issuer identifier. This URL is a unique identifier for the IdP that performs user authentication and delivers the ID tokens.
- UserInfo URL
This is an endpoint provided by the IdP that, when accessed with a valid access token, returns claims about the authenticated user.
- JWKs URL
This is an endpoint provided by the IdP that allows us to retrieve the provider's public keys. These keys are used to verify the signature of JSON web tokens (JWTs) that the IdP issues.
- Authorization URL
When the user accesses this URL, they are prompted to log in and consent to the requested scopes.
- Access URL
Also known as the token endpoint URL. It’s used to exchange an authorization code, client ID, and client secret for an access token.
- Authentication mode
PKCE: Recommended. Choose this option if you want the access token to be obtained using PKCE. This is best for public clients, like mobile or Javascript web apps, by using dynamically generated keys to prevent unauthorized token exchange without needing a client secret.
Authorization code flow: Choose this option if you want the access token to be obtained using Authorization code flow. This is best for server-based apps with secure back-end storage that rely on a client secret to obtain tokens.
- Show button when users sign in
Check this box if you let users choose how they sign in and want this configuration to be an option that they can choose from. If you check this box, you also need to give the button a name that will be shown on the Zendesk sign-in page.
Uncheck this box if your users only sign in using an identity provider. You don't have to add an SSO button in that case because your users don't use the Zendesk sign-in page.
After you’ve finished creating a SSO configuration for OpenID Connect, you can assign it as an SSO method for team members (under Security > Team member authentication) or end users (under Security > End user authentication). You can manage all your SSO configurations under Account > Security > Single Sign-on.