


Quick Look: Admin Center > Objects and rules > Tickets > Ticket statuses
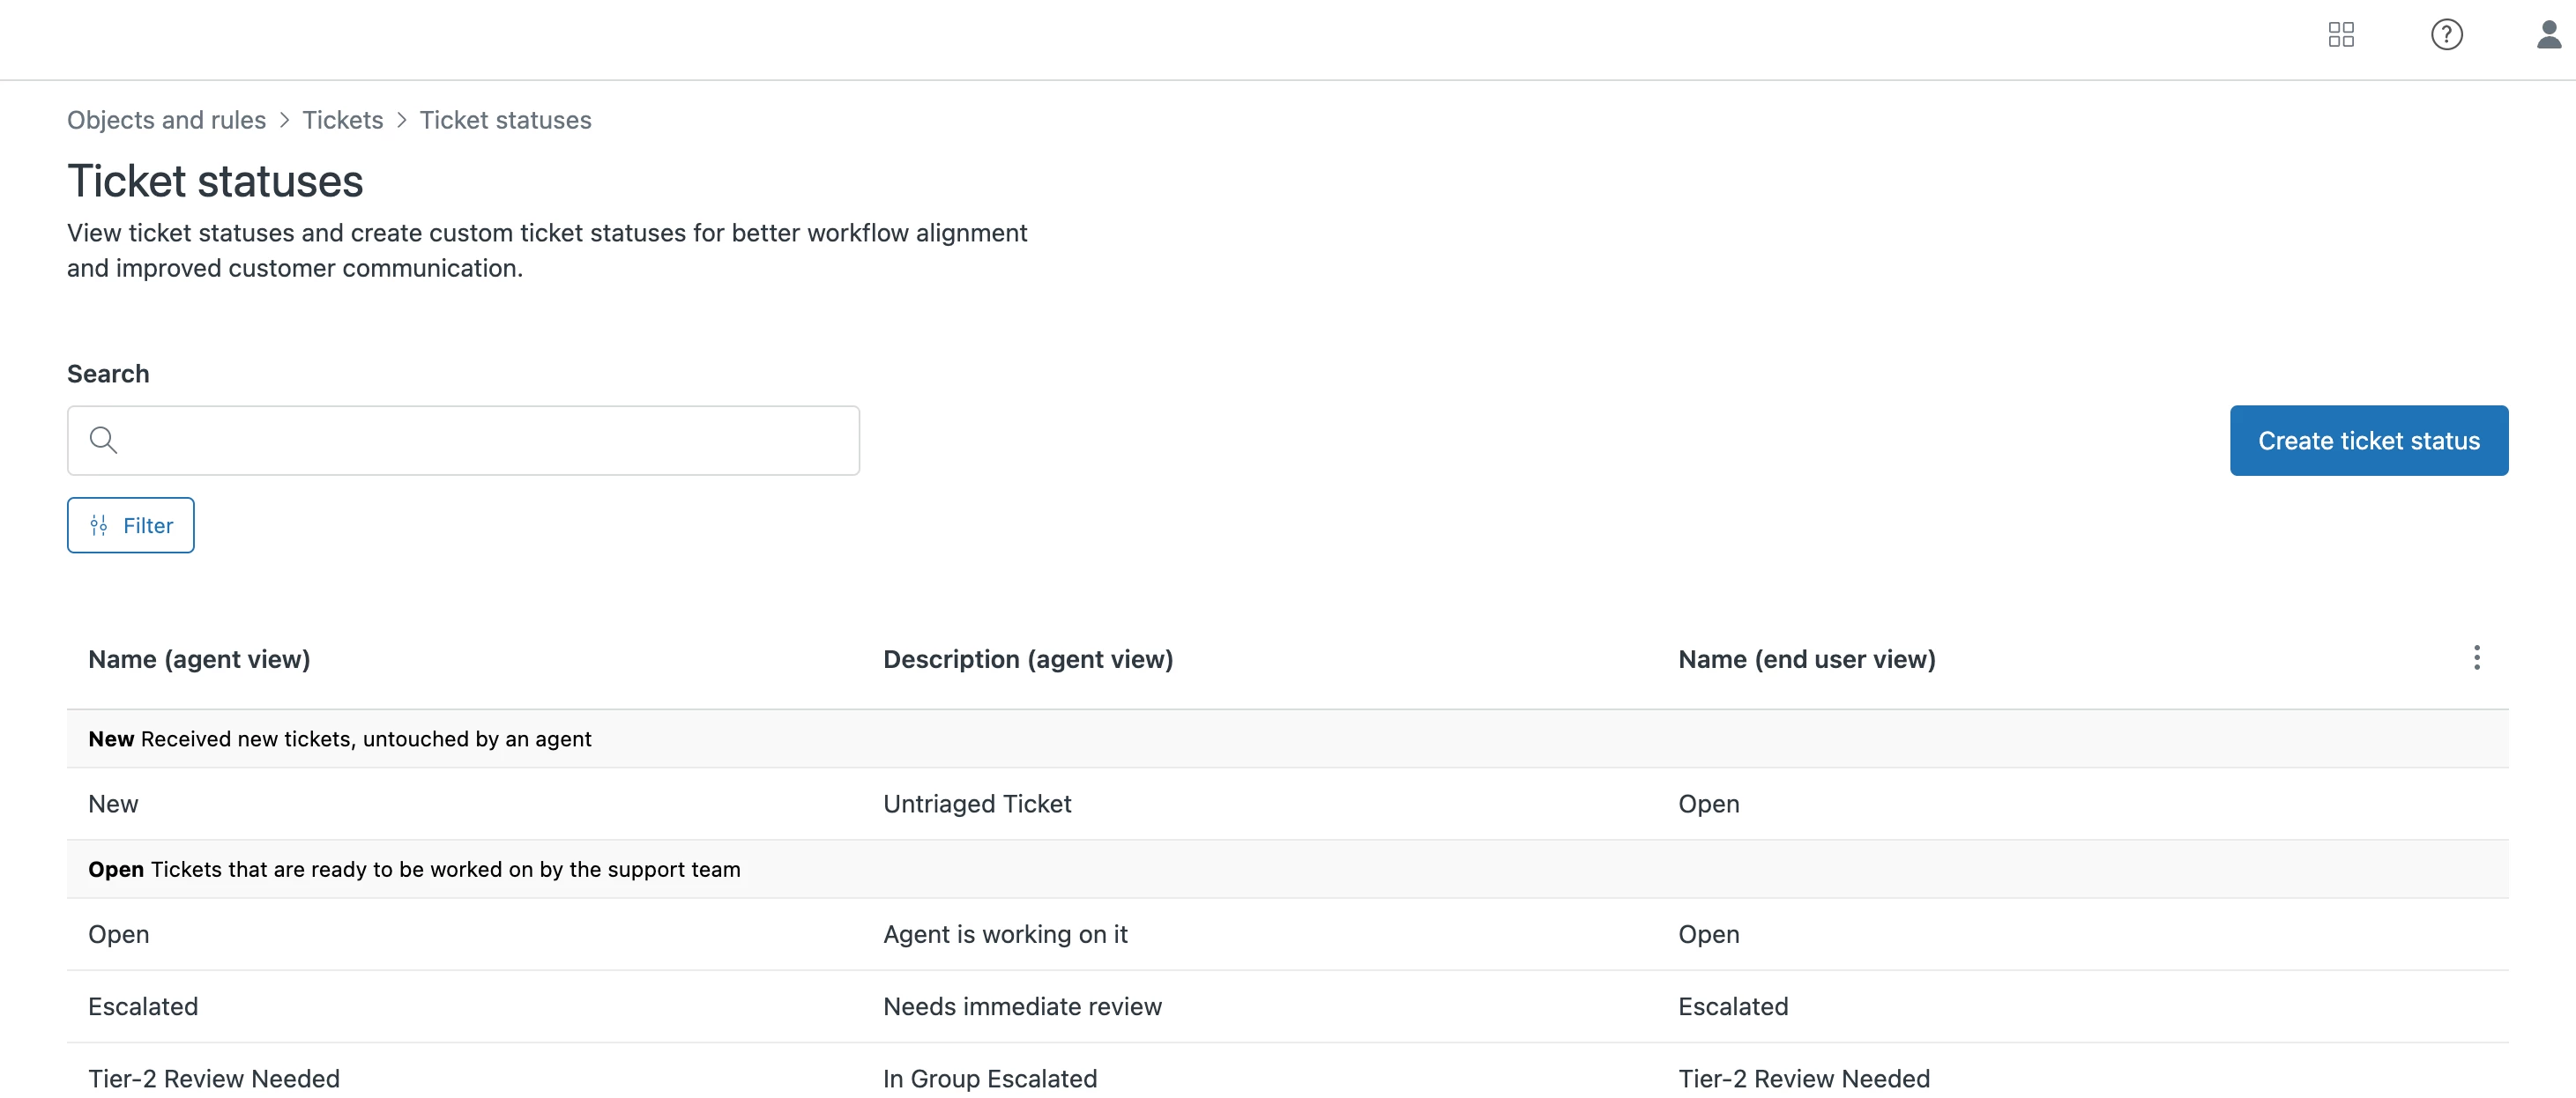
The Ticket statuses page provides a focused place to create and manage ticket statuses.
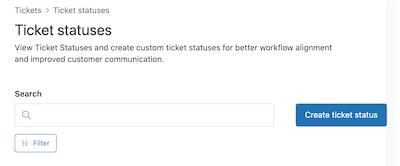
If ticket statuses hasn’t been enabled for your account yet, you’ll see a button to activate it on the page instead of a list of ticket statuses. You can start creating and using new ticket statuses once ticket statuses have been enabled (see Enabling ticket statuses).
The Ticket statuses page provides a list of all system ticket statuses and ticket statuses you’ve created. All ticket statuses are organized into status categories (see About ticket statuses and status categories).
From the Ticket statuses page you can create new ticket statuses, search for ticket statuses, and manage ticket statuses.
- Accessing the Ticket statuses page
- Finding ticket statuses
- Filtering views by ticket status
Accessing the Ticket statuses page
You’ll find the Ticket statuses page in Admin Center.
To open the Ticket statuses page
- In Admin Center, click the Objects and rules icon (
 ) in the sidebar, then select Tickets > Ticket statuses.
The Ticket statuses page opens and you can view all of your ticket statuses. You can also take any of the following actions:
) in the sidebar, then select Tickets > Ticket statuses.
The Ticket statuses page opens and you can view all of your ticket statuses. You can also take any of the following actions:- Create ticket statuses
- Edit ticket statuses
- Change the default ticket status of a category
- Activate and deactivate ticket statuses
For help finding ticket statuses you can search or filter.
Finding ticket statuses
You can search for and filter ticket statuses on the Ticket statuses page.
Searching for ticket statuses
You can search for a ticket status by name, including both the agent view name and end user view name. Search the whole list, or filter the list and search only the filtered results.
For more information about ticket status agent view and end user view names, see Configuration options for ticket statuses.
To search ticket statuses
- In Admin Center, click the Objects and rules icon (
 ) in the sidebar, then select Tickets > Ticket statuses.
 - Enter a ticket status’ name or partial name in the search bar.
Filtering ticket statuses
You can filter ticket statuses by status categories and by ticket status type. Filtering by ticket status type filters your ticket statuses by whether they are the default or non-default ticket status of a status category.
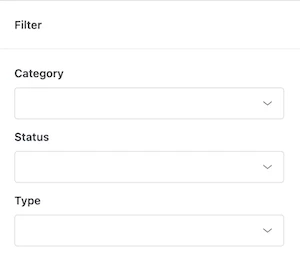
Additionally, you can filter ticket statuses by activated and deactivated status.
To filter ticket statuses by status category
- In Admin Center, click the Objects and rules icon (
 ) in the sidebar, then select Tickets > Ticket statuses.
 - Click Filter.
- Under Category, select the status category you want to filter by.
You can select more than one status category.
- Click Apply Filters.
To filter ticket statuses by type
- In Admin Center, click the Objects and rules icon (
 ) in the sidebar, then select Tickets > Ticket statuses.
 - Click Filter.
- Under Type, select default-status or non-default status (see Changing the default ticket status of a status category).
- Click Apply Filters.
To filter ticket statuses by activated or deactivated status
- In Admin Center, click the Objects and rules icon (
 ) in the sidebar, then select Tickets > Ticket statuses.
 - Click Filter.
- Under Status, select active or inactive (see Activating and deactivating ticket statuses).
- Click Apply Filters.
Filtering views by ticket status
You can filter views by both system ticket statuses and ticket statuses you create. Any filters you apply remain persistent in that view until you sign out.
To learn more about all the attributes you can use to filter views, see Filtering the list of tickets in a view.
To filter a view by ticket status
- In any view, click the Filter button.
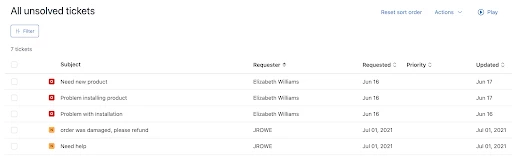
- From the Ticket status menu, click the name of the ticket status you want to filter the view by.
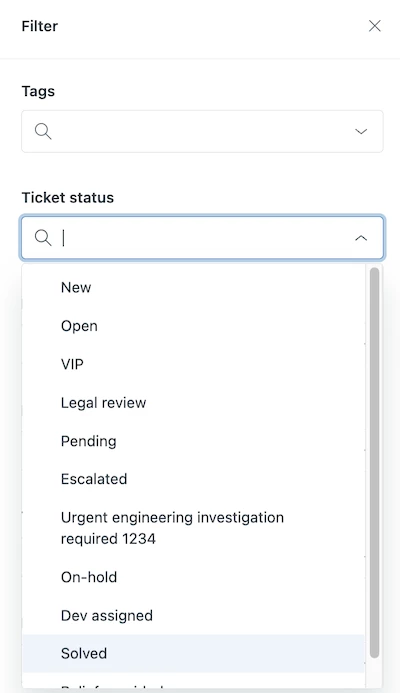
You can select more than one ticket status to filter.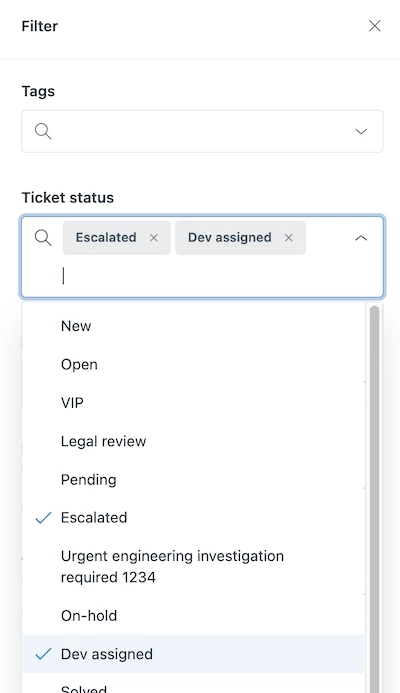
- Continue to make any other selections and then click Apply filters.
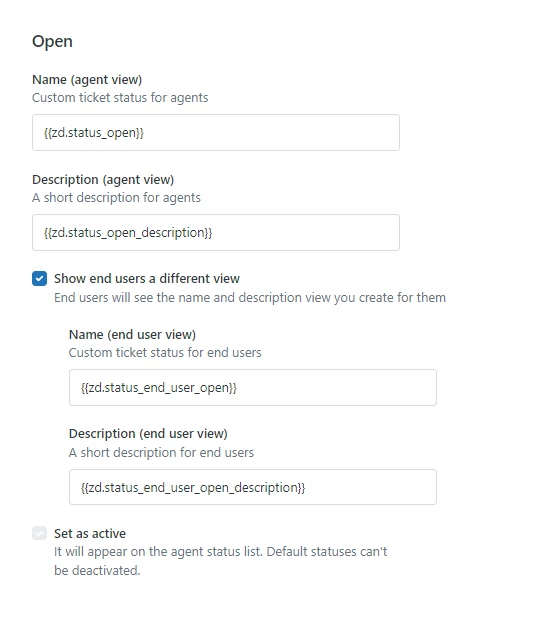
The placeholders that you are using are system string which cannot be modified. They behave like dynamic contents. In addition, you can also create your own dynamic contents to be utilized by your custom status.
Cheers!