
Often we get the request from our customers to integrate an easy to use way to send over important browser information when creating a ticket in the Help Center. The browser information is in a lot of cases very important to deliver proper support to your customers.
This trick will automatically grab all important information for your team and include it into a hidden textarea in your Help Center. I've used the source from Christian Ludwig which was for public use shared on Stack Overflow and made it ready to use for your Help Center.
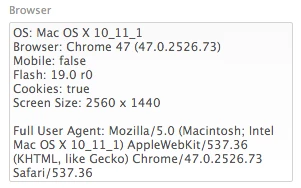
Example in agent view
Instructions
- Create a Custom Ticket Field and choose the Multi-line field. Make sure it's visible and editable for your end-user.
- After creating the field grab the ID. You can easily find this ID by pressing Edit in the Ticket Field list The Field ID will be on the top of the page.
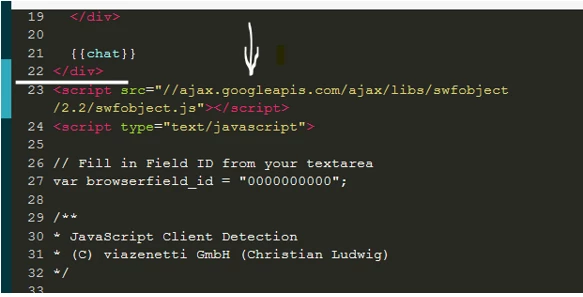
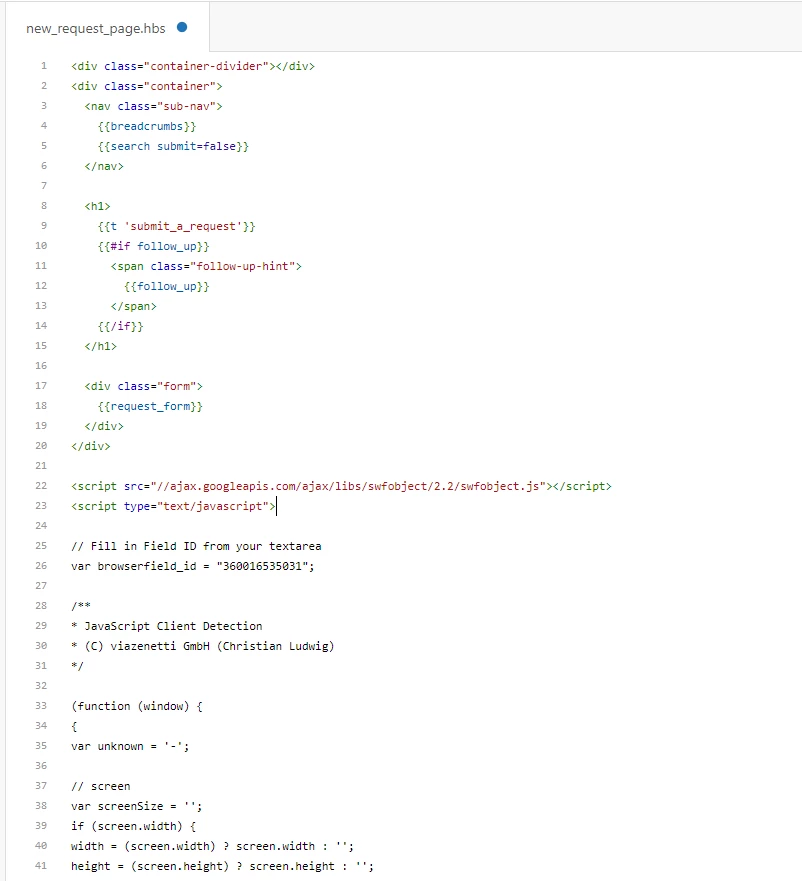
- Copy the code below and paste it in your New Request template below all other HTML code. Change the browserfield_id in the top of the code to your Field ID. You could disable the Flash detection by deleting the first row.
<script src="//ajax.googleapis.com/ajax/libs/swfobject/2.2/swfobject.js"></script>
<script type="text/javascript">
// Fill in Field ID from your textarea
var browserfield_id = "0000000000";
/**
* JavaScript Client Detection
* (C) viazenetti GmbH (Christian Ludwig)
*/
(function (window) {
{
var unknown = '-';
// screen
var screenSize = '';
if (screen.width) {
width = (screen.width) ? screen.width : '';
height = (screen.height) ? screen.height : '';
screenSize += '' + width + " x " + height;
}
// browser
var nVer = navigator.appVersion;
var nAgt = navigator.userAgent;
var browser = navigator.appName;
var version = '' + parseFloat(navigator.appVersion);
var majorVersion = parseInt(navigator.appVersion, 10);
var nameOffset, verOffset, ix;
// Opera
if ((verOffset = nAgt.indexOf('Opera')) != -1) {
browser = 'Opera';
version = nAgt.substring(verOffset + 6);
if ((verOffset = nAgt.indexOf('Version')) != -1) {
version = nAgt.substring(verOffset + 8);
}
}
// Opera Next
if ((verOffset = nAgt.indexOf('OPR')) != -1) {
browser = 'Opera';
version = nAgt.substring(verOffset + 4);
}
// MSIE
else if ((verOffset = nAgt.indexOf('MSIE')) != -1) {
browser = 'Microsoft Internet Explorer';
version = nAgt.substring(verOffset + 5);
}
// Chrome
else if ((verOffset = nAgt.indexOf('Chrome')) != -1) {
browser = 'Chrome';
version = nAgt.substring(verOffset + 7);
}
// Safari
else if ((verOffset = nAgt.indexOf('Safari')) != -1) {
browser = 'Safari';
version = nAgt.substring(verOffset + 7);
if ((verOffset = nAgt.indexOf('Version')) != -1) {
version = nAgt.substring(verOffset + 8);
}
}
// Firefox
else if ((verOffset = nAgt.indexOf('Firefox')) != -1) {
browser = 'Firefox';
version = nAgt.substring(verOffset + 8);
}
// MSIE 11+
else if (nAgt.indexOf('Trident/') != -1) {
browser = 'Microsoft Internet Explorer';
version = nAgt.substring(nAgt.indexOf('rv:') + 3);
}
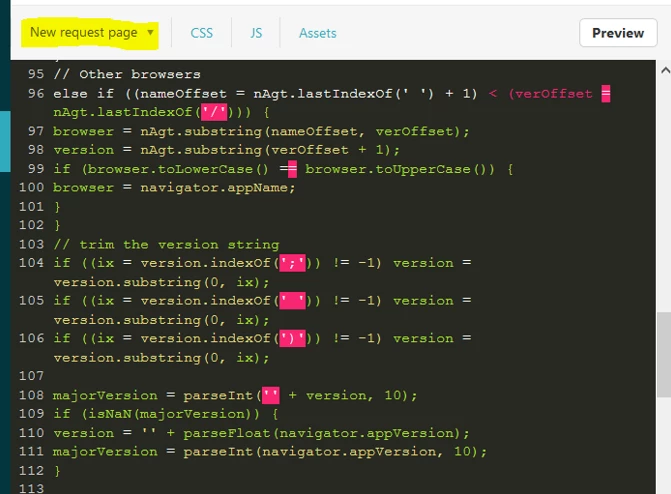
// Other browsers
else if ((nameOffset = nAgt.lastIndexOf(' ') + 1) < (verOffset = nAgt.lastIndexOf('/'))) {
browser = nAgt.substring(nameOffset, verOffset);
version = nAgt.substring(verOffset + 1);
if (browser.toLowerCase() == browser.toUpperCase()) {
browser = navigator.appName;
}
}
// trim the version string
if ((ix = version.indexOf(';')) != -1) version = version.substring(0, ix);
if ((ix = version.indexOf(' ')) != -1) version = version.substring(0, ix);
if ((ix = version.indexOf(')')) != -1) version = version.substring(0, ix);
majorVersion = parseInt('' + version, 10);
if (isNaN(majorVersion)) {
version = '' + parseFloat(navigator.appVersion);
majorVersion = parseInt(navigator.appVersion, 10);
}
// mobile version
var mobile = /Mobile|mini|Fennec|Android|iP(ad|od|hone)/.test(nVer);
// cookie
var cookieEnabled = (navigator.cookieEnabled) ? true : false;
if (typeof navigator.cookieEnabled == 'undefined' && !cookieEnabled) {
document.cookie = 'testcookie';
cookieEnabled = (document.cookie.indexOf('testcookie') != -1) ? true : false;
}
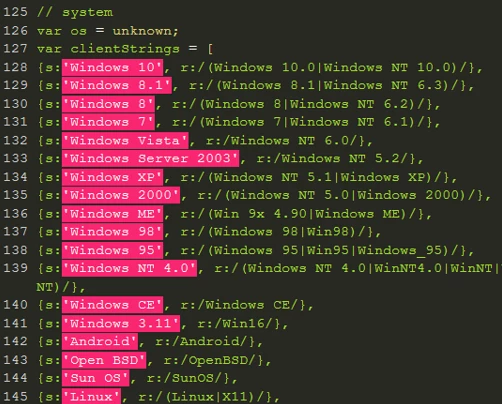
// system
var os = unknown;
var clientStrings = [
{s:'Windows 10', r:/(Windows 10.0|Windows NT 10.0)/},
{s:'Windows 8.1', r:/(Windows 8.1|Windows NT 6.3)/},
{s:'Windows 8', r:/(Windows 8|Windows NT 6.2)/},
{s:'Windows 7', r:/(Windows 7|Windows NT 6.1)/},
{s:'Windows Vista', r:/Windows NT 6.0/},
{s:'Windows Server 2003', r:/Windows NT 5.2/},
{s:'Windows XP', r:/(Windows NT 5.1|Windows XP)/},
{s:'Windows 2000', r:/(Windows NT 5.0|Windows 2000)/},
{s:'Windows ME', r:/(Win 9x 4.90|Windows ME)/},
{s:'Windows 98', r:/(Windows 98|Win98)/},
{s:'Windows 95', r:/(Windows 95|Win95|Windows_95)/},
{s:'Windows NT 4.0', r:/(Windows NT 4.0|WinNT4.0|WinNT|Windows NT)/},
{s:'Windows CE', r:/Windows CE/},
{s:'Windows 3.11', r:/Win16/},
{s:'Android', r:/Android/},
{s:'Open BSD', r:/OpenBSD/},
{s:'Sun OS', r:/SunOS/},
{s:'Linux', r:/(Linux|X11)/},
{s:'iOS', r:/(iPhone|iPad|iPod)/},
{s:'Mac OS X', r:/Mac OS X/},
{s:'Mac OS', r:/(MacPPC|MacIntel|Mac_PowerPC|Macintosh)/},
{s:'QNX', r:/QNX/},
{s:'UNIX', r:/UNIX/},
{s:'BeOS', r:/BeOS/},
{s:'OS/2', r:/OS\/2/},
{s:'Search Bot', r:/(nuhk|Googlebot|Yammybot|Openbot|Slurp|MSNBot|Ask Jeeves\/Teoma|ia_archiver)/}
];
for (var id in clientStrings) {
var cs = clientStrings[id];
if (cs.r.test(nAgt)) {
os = cs.s;
break;
}
}
var osVersion = unknown;
if (/Windows/.test(os)) {
osVersion = /Windows (.*)/.exec(os)[1];
os = 'Windows';
}
switch (os) {
case 'Mac OS X':
osVersion = /Mac OS X (10[\.\_\d]+)/.exec(nAgt)[1];
break;
case 'Android':
osVersion = /Android ([\.\_\d]+)/.exec(nAgt)[1];
break;
case 'iOS':
osVersion = /OS (\d+)_(\d+)_?(\d+)?/.exec(nVer);
osVersion = osVersion[1] + '.' + osVersion[2] + '.' + (osVersion[3] | 0);
break;
}
// flash (you'll need to include swfobject)
/* script src="//ajax.googleapis.com/ajax/libs/swfobject/2.2/swfobject.js" */
var flashVersion = 'no check';
if (typeof swfobject != 'undefined') {
var fv = swfobject.getFlashPlayerVersion();
if (fv.major > 0) {
flashVersion = fv.major + '.' + fv.minor + ' r' + fv.release;
}
else {
flashVersion = unknown;
}
}
}
window.jscd = {
screen: screenSize,
browser: browser,
browserVersion: version,
browserMajorVersion: majorVersion,
mobile: mobile,
os: os,
osVersion: osVersion,
cookies: cookieEnabled,
flashVersion: flashVersion
};
}(this));
// The code below makes sure the information above is been pushed into a hidden textarea.
$('#request_custom_fields_'+ browserfield_id).val(
'OS: ' + jscd.os +' '+ jscd.osVersion + '\n' +
'Browser: ' + jscd.browser +' '+ jscd.browserMajorVersion +
' (' + jscd.browserVersion + ')\n' +
'Mobile: ' + jscd.mobile + '\n' +
'Flash: ' + jscd.flashVersion + '\n' +
'Cookies: ' + jscd.cookies + '\n' +
'Screen Size: ' + jscd.screen + '\n\n' +
'Full User Agent: ' + navigator.userAgent);
$('div.request_custom_fields_' + browserfield_id).css({ display: "none" });
</script>
Hey Michael,
The tickets created through the web widget automatically captures the browser and OS information of the requester. You can find these by clicking on the Conversations option at the upper left corner of the top of the ticket comment and change it to Events. If you scroll down to the bottom of the ticket, you will see a string of browser information there.
Let me know if you experience issues on your end as I'm happy to assist further.
Cheers!